Introduction
Choosing a menu cover size sounds simple until a buyer receives a sample that is technically the requested size but does not fit the printed menu. The source of the problem is usually terminology. "8.5 x 11 menu cover" may describe the paper insert, the visible window, or the outside dimensions of the finished cover. Those are three different measurements.
For restaurants, hotels, bars, resorts, and hospitality groups, the correct size is the one that works with the printed insert, binding system, table setting, storage space, and menu-change routine. A large format may create a premium visual impact but occupy too much table space. A compact format may be easy to handle but force small type or too many pages. The best specification balances readability, service workflow, and manufacturing construction.
This guide explains standard menu sizes, A4 versus US Letter, portrait versus landscape, menu views, finished dimensions, artwork preparation, sampling, and shipment inspection. It is designed to help a buyer prepare a complete request for quotation rather than guess from a product photograph.
Quick answer: Start with the exact trimmed size of the printed insert, not the desired outside size of the cover. Then select orientation, number of views, and binding method. Ask the supplier to confirm the visible area, insertion clearance, spine allowance, and finished closed dimensions on a technical drawing or approved sample.
Insert Size, Visible Area, and Finished Size Are Not the Same
Three dimensions should appear in a reliable specification.
1. Insert size
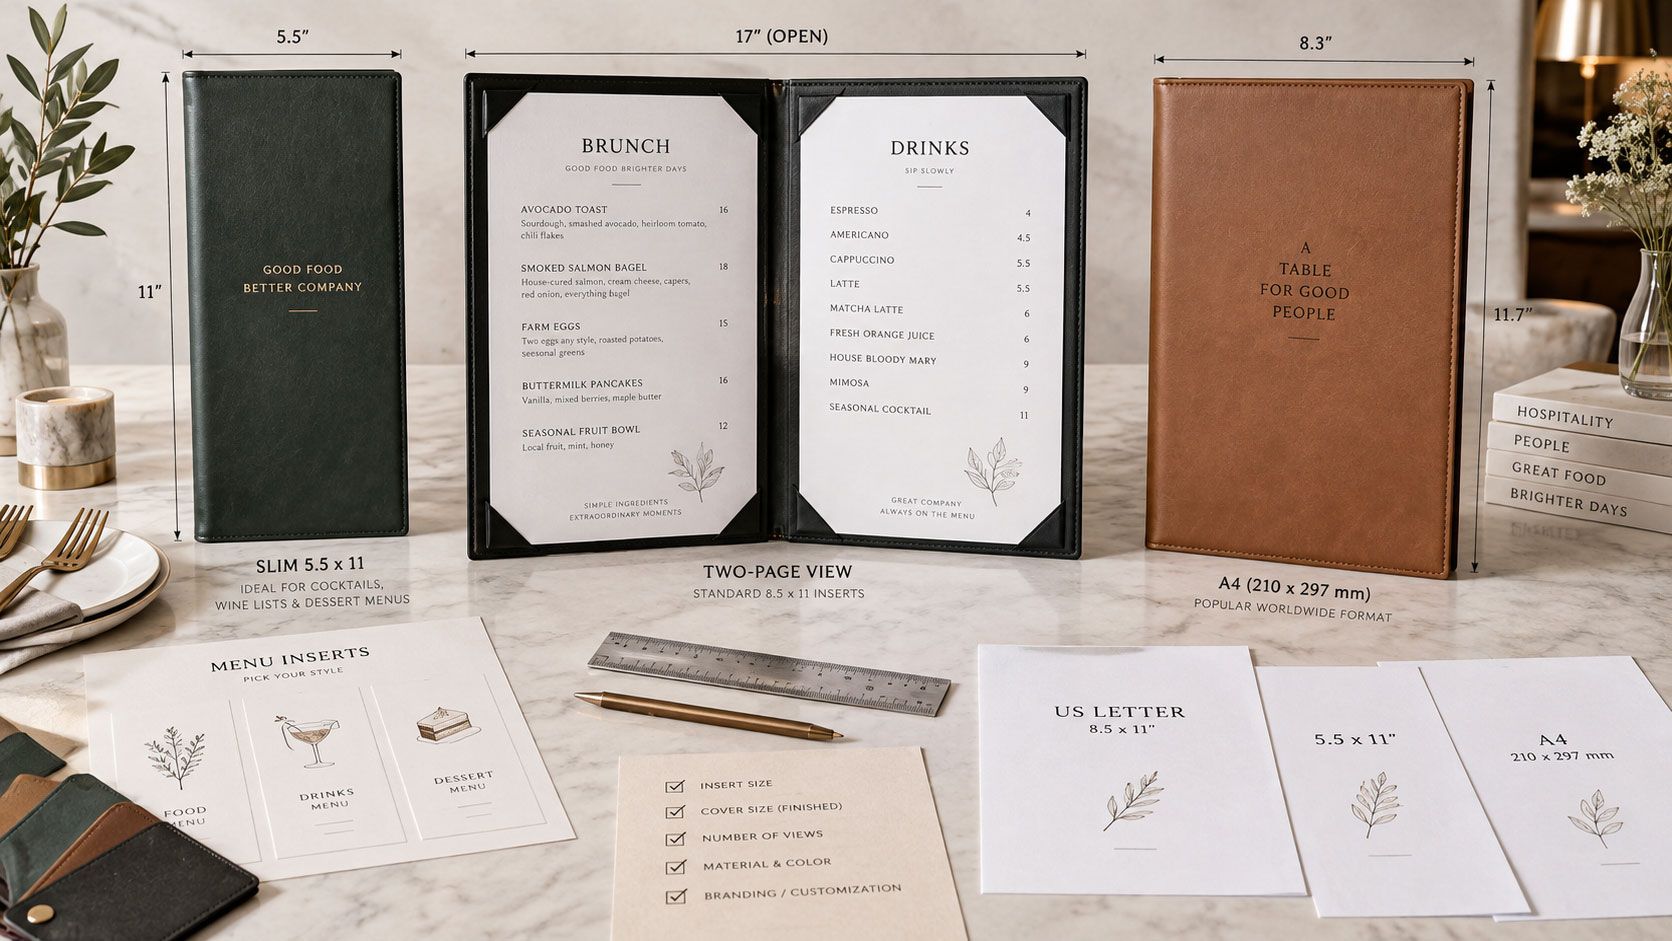
The insert size is the final trimmed paper, card, synthetic sheet, or laminated menu placed inside the cover. Common examples are US Letter at 8.5 x 11 inches and A4 at 210 x 297 mm. If a menu is already printed, measure the physical sheet rather than relying on the file name. Printers sometimes trim a nominal format slightly differently.
2. Visible area
The visible area is the portion of the insert that guests can see after it is placed behind a clear sleeve, under corner tabs, inside a framed border, or beneath retaining bands. A frame or corner construction can cover several millimeters near the edge. Critical text, prices, QR codes, and regulatory information should remain inside the safe area.
3. Finished cover size
The finished cover size is the outside width and height when the cover is closed. It is normally larger than the insert because the construction needs borders, seams, turned edges, spine space, hardware, or pocket clearance. The exact allowance depends on the design. It should be confirmed by the manufacturer, not estimated from a generic chart.
This distinction is especially important when the menu must fit a host stand drawer, wall rack, service station, or shipping carton. A purchasing document should state all three dimensions and identify which measurement is primary.
Common Menu Insert Formats
The following formats are useful starting points, not mandatory standards.
US Letter and A4 are close, but they are not interchangeable. US Letter is 216 x 279 mm, while A4 is 210 x 297 mm. An A4 sheet is approximately 6 mm narrower and 18 mm taller. A clear pocket designed tightly for one format may wrinkle the other or leave an uneven border. For an international hotel group, specify the actual paper standard used by each region rather than applying one label to all locations.
How to Choose the Right Size Step by Step
Step 1: Begin with the menu content
Ask the design and operations teams how much information must appear at one time. A concise cocktail list can work well in A5 or Half Letter. A broad all-day menu may need A4, US Letter, multiple views, or a binder. Do not solve a content problem by shrinking the type until it becomes difficult to read.
Consider language requirements as well. A bilingual menu often needs more space than a single-language version. Allergen statements, service charges, legal notices, and QR codes also consume usable area. If translations may be added later, reserve that space before the cover is manufactured.
Step 2: Decide how guests will handle it
Observe the table and service environment. Measure the usable table area after place settings, glassware, condiments, and shared dishes are in position. A format that looks elegant in a sample room may be awkward on a fully set table.
For room service, poolside service, or bars, staff may carry several menus together. Weight, grip, and corner clearance matter. For a banquet or wedding venue, compact interchangeable inserts may be more practical because menus change by event.
Step 3: Select portrait or landscape orientation
Portrait is the most common orientation for multi-page food menus because it is easy to hold and fits familiar paper formats. Landscape can suit wine lists, tasting menus, shared plates, and designs that need wide columns. Square and narrow formats can create a distinctive presentation, but they usually require custom printing and should be tested with actual table settings.
Orientation also affects binding. A top-bound board behaves differently from a side-bound cover. Confirm the opening direction and the position of logos, hardware, pockets, and spine before artwork is approved.
Step 4: Define the number of views
A "view" is one visible menu face. A two-view cover typically displays two facing pages when open. A four-view cover displays four menu faces, often through two clear pockets or an additional internal panel. Six-view and eight-view constructions add more pockets or panels.
Do not assume that "four-page" and "four-view" mean the same thing. In printing, a folded sheet can be described by pages; in menu-cover purchasing, suppliers often count visible faces. Request a diagram showing the front, back, inside panels, and insert positions.
Use the fewest views that keep the menu readable and logically organized. More views add capacity, but they may also add thickness, weight, cleaning time, and assembly labor.
Step 5: Match the size to the binding construction
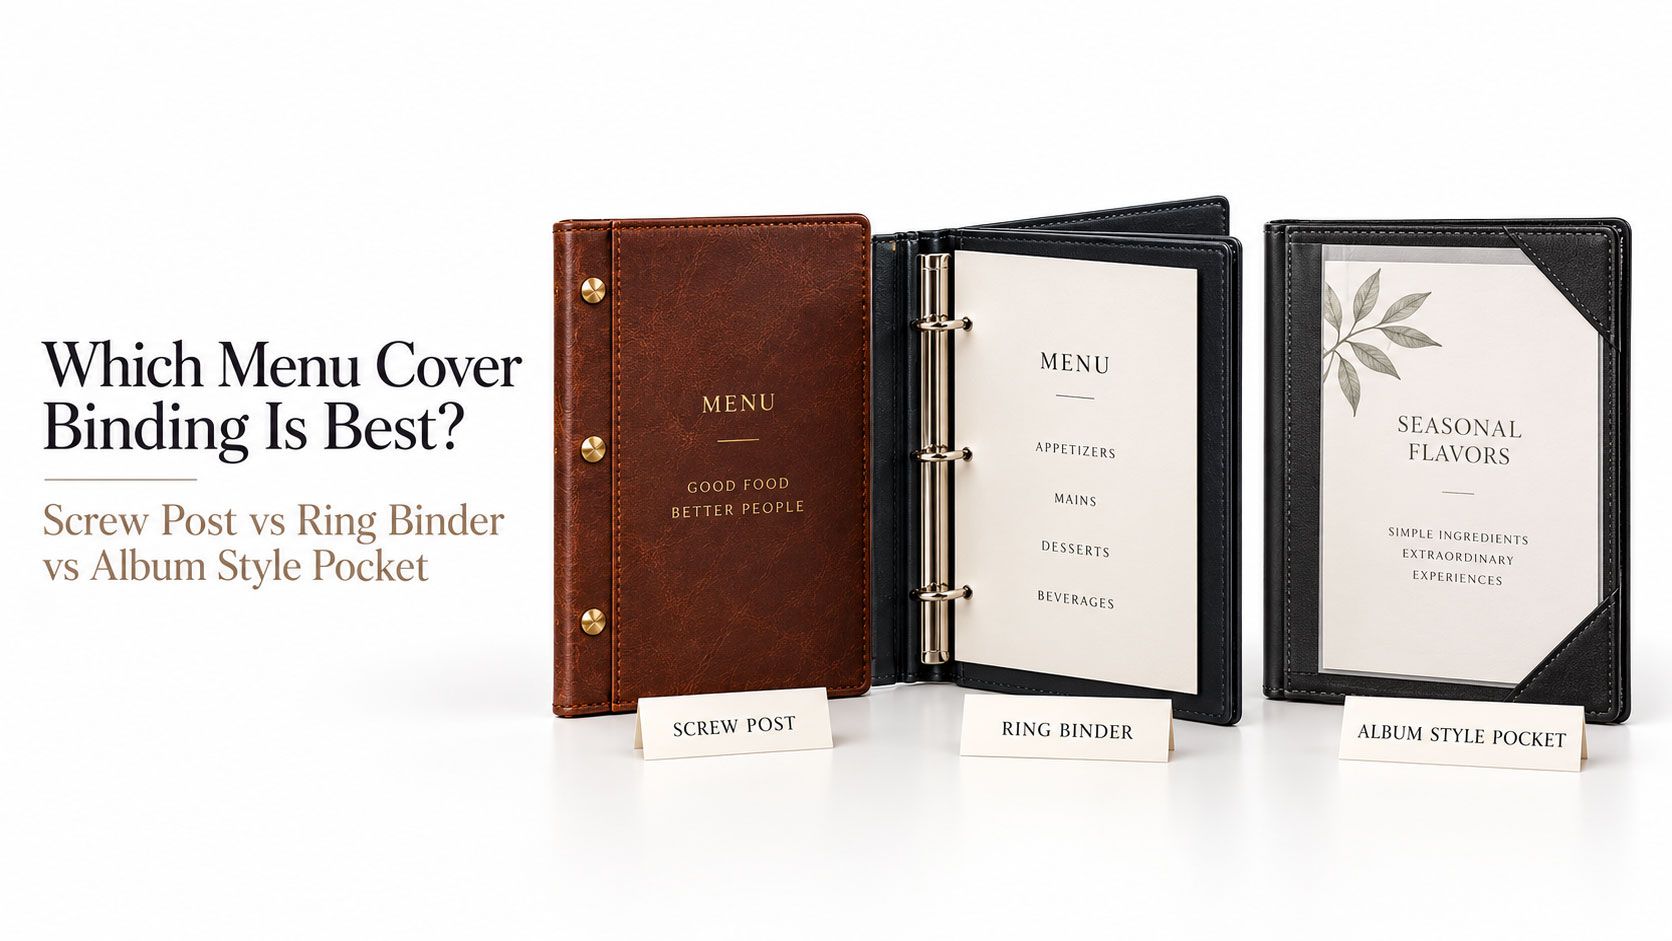
Clear-pocket covers need enough insertion clearance for paper or laminated sheets. Corner-pocket and banded covers need a safe border so the retaining elements do not obscure text. Screw-post covers require a binding margin and correctly positioned holes. Ring binders need punched inserts and enough spine capacity for the intended sheet count. Elastic systems need a fold or center line that aligns with the cord.
If the insert will be laminated, measure the laminated piece, not the unlaminated print. Lamination increases overall width and height, and thicker inserts need more pocket clearance.
A Practical Measurement Method for Existing Menus
When replacing an existing cover, use a physical sample and record measurements in millimeters, even if the sales team also uses inches. Millimeters reduce ambiguity during manufacturing.
A ruler photo is useful, but it should support a written specification rather than replace it. Perspective distortion can make a photograph unreliable. For a custom project, a dimensioned drawing and a physical pre-production sample provide much stronger approval evidence.
Artwork and Installation Preparation
The menu cover and printed insert are separate production systems, but they must be planned together.
Confirm the printer's final trim and bleed
Print-ready artwork is commonly supplied at 300 dpi for raster images, with bleed and safe margins defined by the printer. The exact bleed is a printer specification, not a universal menu-cover rule. Ask the printer for the final trim size and production template, then share that information with the cover supplier.
Keep critical content away from retained edges
Corner tabs, frames, sleeves, screws, rings, and cords can occupy part of the page. Keep prices, item names, QR codes, and essential notices clear of these areas. For screw-post products, include a dedicated binding margin so holes do not interfere with the layout.
Test real insert installation
During sample approval, install the intended paper stock using the same lamination and page count planned for production. Check whether staff can change inserts without excessive force and whether the insert lies flat. A pocket that accepts thin office paper may not accept a thick laminated menu comfortably.
Prepare tools and spares
Screw-post systems may require a screwdriver or coin, depending on the hardware. Ring binders require the correct punch pattern. Elastic systems may need replacement cords over time. Store the appropriate tools and spare components at the location before launch.
Factory Sample Checks Before Mass Production
A useful sample review should be documented, not limited to a visual impression.
If a hotel group has several outlets, test the same sample with each menu type. The restaurant, bar, spa, and room-service teams may use different insert formats even when they share one visual identity.
Shipment Inspection for Size and Fit
Shipment inspection should compare production units with the approved sample and specification. Inspectors can measure a defined sample from the batch, install actual inserts, check opening direction, count views, and verify hardware placement. The acceptance plan should be agreed before production; it should not be invented after goods are packed.
For pocket products, test insertion and removal on sampled units. For binders, verify ring alignment and closure. For screw posts, confirm that posts engage correctly and that the supplied length matches the approved page capacity. Also check carton labels by size or outlet so different formats do not become mixed during distribution.
Size Selection by Application
Fine-dining restaurant
A5, narrow, or custom portrait formats often support a curated menu and a refined table setting. Readability remains more important than novelty. Wine lists may use a taller format or separate binder.
Casual dining and cafes
A4 or US Letter provides familiar reading space. Clear-pocket or multi-view covers can make frequent changes easier. Compact dessert or drinks menus can be separate.
Hotels and resorts
Standardize where practical, but map each outlet. Restaurants, lounges, spas, banquets, and guest rooms may need different dimensions and cleaning requirements. Record each item in a location schedule.
Restaurant chains
Prioritize repeatability. Use one approved insert template, one measurement convention, and version-controlled artwork. Confirm that replacement covers ordered later will match the original finished dimensions and color standard.
Outdoor and poolside service
Consider wind, moisture, cleaning, and one-handed handling. Large loose inserts can be inconvenient. A waterproof printed menu, secured board, or compact cover may be more suitable than a large conventional folder.
What to Include in a Menu Cover RFQ
A complete RFQ should include:
The supplier should return a written specification, not only a price. Compare quotations using the same insert size, construction, material, branding, quantity, packaging, and shipping basis.
Project Support
Send Your Requirements
Have an existing menu or print file? Send MENUNIQUE the trimmed insert size, orientation, number of views, quantity, and reference photos. We can help translate those details into a practical cover specification before sampling. Send Your Requirements
Send Your RequirementsFrequently Asked Questions
FAQ
What is the most common restaurant menu cover size?
US Letter, 8.5 x 11 inches, is common in North America, while A4, 210 x 297 mm, is common in many other markets. Neither is universally best. The correct size depends on the printed insert, menu content, table space, and binding system.
Is an A4 menu cover the same as an 8.5 x 11 menu cover?
No. A4 is narrower and taller than US Letter. A tightly fitted sleeve or frame designed for one may not fit the other correctly. Specify the exact trimmed insert dimensions.
How much larger should a cover be than the menu insert?
There is no universal allowance. The required border depends on seams, pockets, frames, hardware, spine design, and material thickness. Ask the manufacturer to confirm the finished dimensions on a drawing or sample.
How many menu views do I need?
Use enough views to keep text readable and sections easy to navigate. Two views suit concise menus; four or more views suit broader selections. More views increase capacity but also add weight and assembly work.
Can menu covers be made in custom sizes?
Yes, many constructions can be customized. A custom format should be supported by exact dimensions, artwork templates, a physical sample, and confirmation that the printer can supply matching inserts consistently.
Should I measure the print file or the physical menu?
Measure the final physical insert whenever possible. A digital file may include bleed, crop marks, or an outdated trim size. Use the printer's confirmed final trim specification for a new design.
What should I approve before production?
Approve the insert fit, visible area, outside dimensions, spine, opening direction, binding position, logo, color, material, page capacity, and packaging. Keep the approved sample and specification for shipment inspection and future reorders.
Conclusion
The best menu cover size is not a label such as A4 or 8.5 x 11. It is a complete relationship between the trimmed insert, visible area, outside dimensions, views, binding, and operating environment. Starting with the actual insert and validating the design through a pre-production sample prevents many of the most expensive fit problems.
For multi-location projects, document the approved dimensions and application by outlet. That record makes production, shipment inspection, distribution, and future reorders more consistent.
Next Step
Get a Quote
Send your insert dimensions, menu format, quantity, branding requirements, and destination to MENUNIQUE. We will review the specification and recommend a suitable construction for sampling and quotation. Get a Quote
Get a Quote